Skip to content

Cart

Your cart is empty

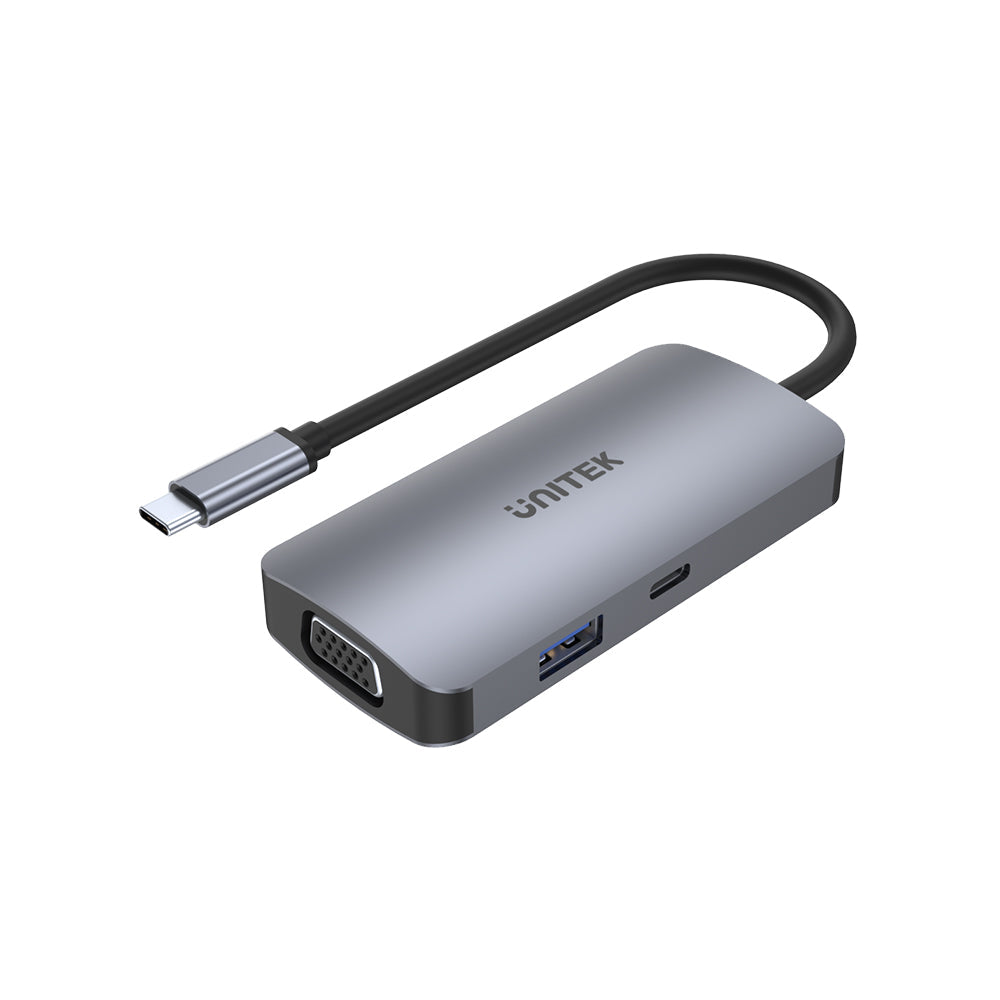
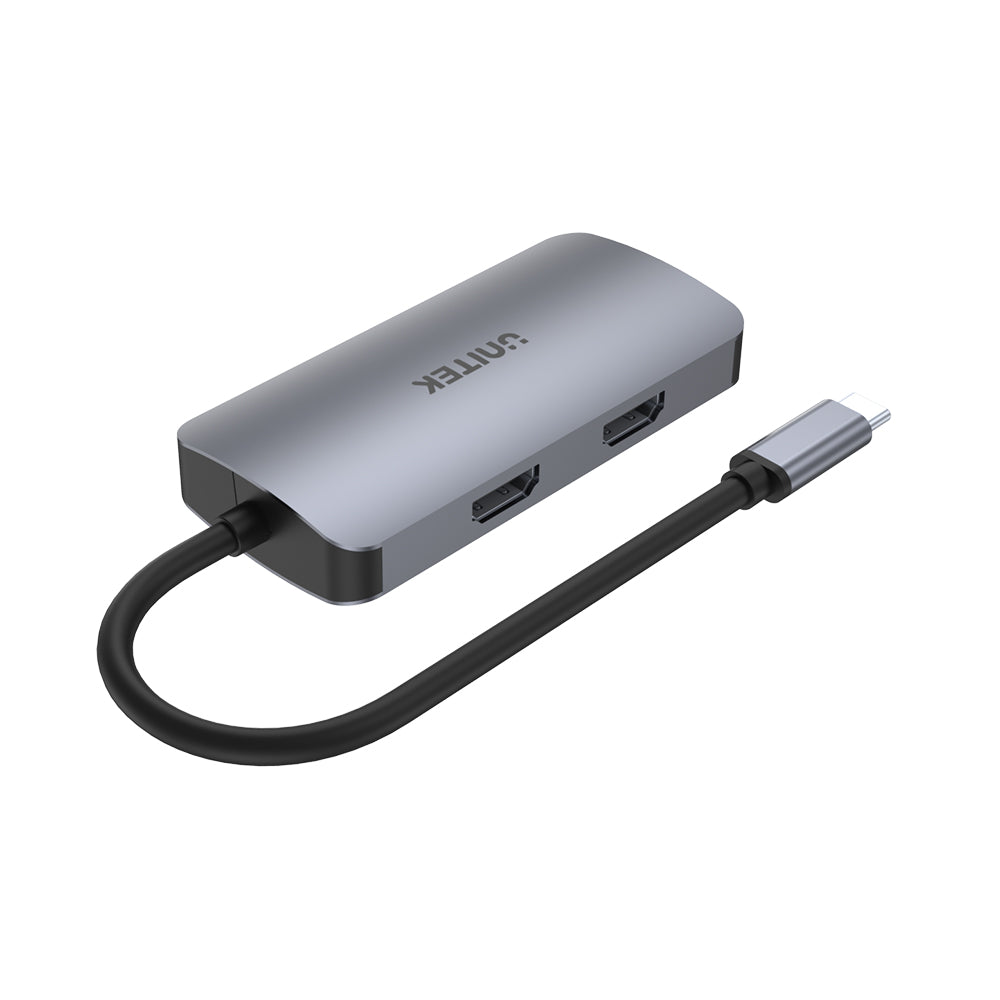
Unitek USB Type-C Hub Support Three Monitor Display MST HDMI/VGA/USB Docking Station

(0.0)
Sale price$59.00

Product Overview:

  • Up to 4K@30Hz resolution
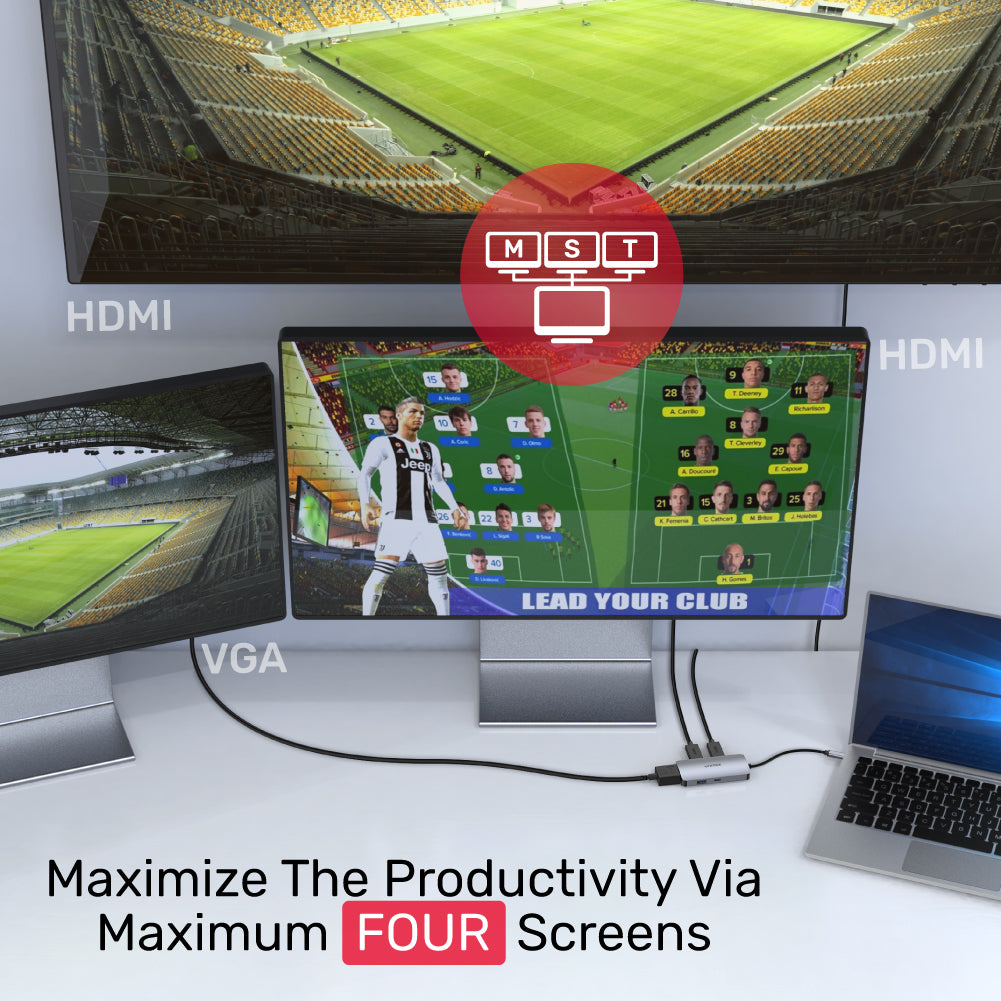
  • Triple display output (HDMI x2 + VGA x1)
  • Streaming 3 independent screens via MST
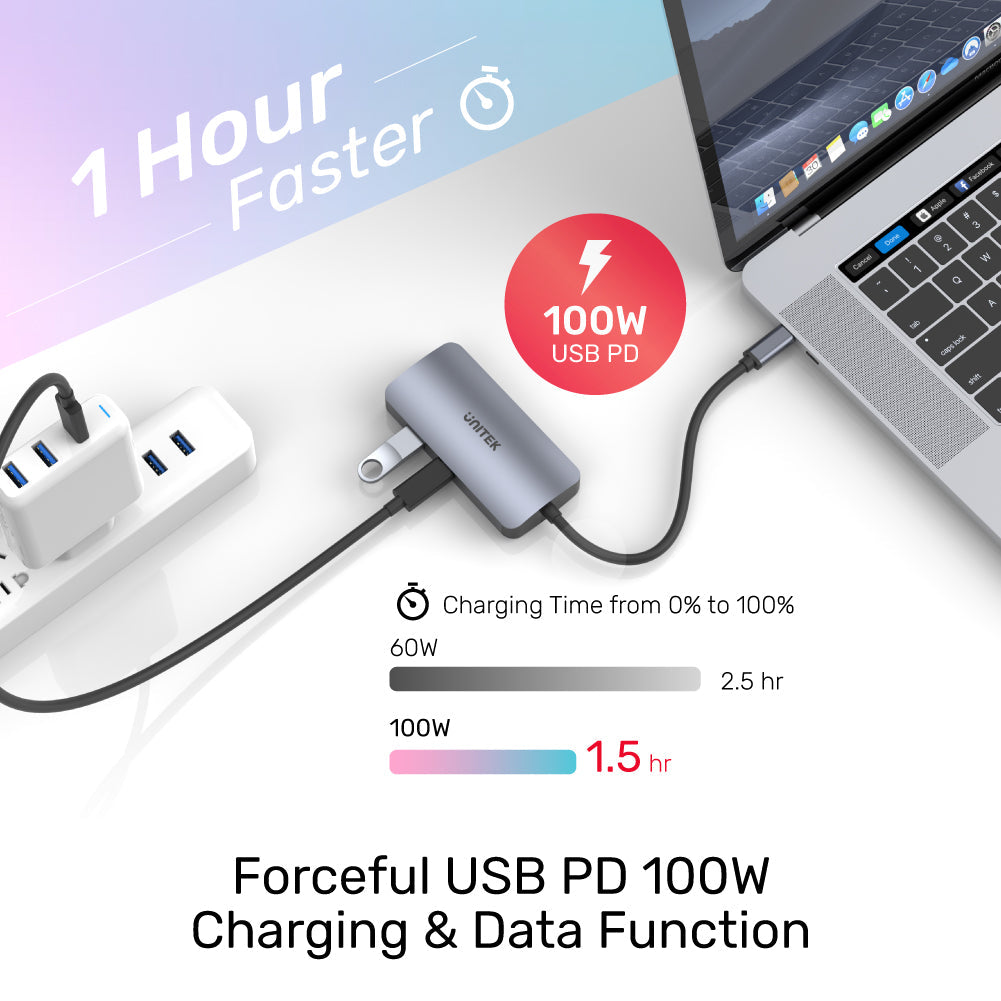
  • USB-C Power Delivery 100W charging
  • USB expansion with USB3.0 5Gbps SuperSpeed

uHUB P5 Trio is a USB-C 5-port hub offers triple display outputs plus the forceful Power Delivery 100W charging via the USB-C socket and the USB-A 5Gbps SuperSpeed for USB expansion. You may connect with an HDMI display at up to 4K@30Hz, or maximum 3 external monitors at a lower resolution.


Product Features

  • With USB3.0 specification, the data transfer rate of USB-A port is up to 5Gbps. Backward compatible with USB2.0/1.1.
  • With the USB-C Power Delivery (USB PD) port, supporting maximum 100W/20V5A charging to your upstream computer including MacBook Pro 2019. USB PD power actual output depends on your power adapter.
  • Support HDMI with Ultra-HD (UHD) 4K@30Hz, and VGA with Full HD 1080p@60Hz.
  • Support Multi-Stream Transport (MST), to display the video signal from your PC to the other maximum three monitors at a lower resolution 1080P 60Hz. Windows OS is able to turn on the Screen Mirroring and Extend (up to extra two desktop) on the external monitors. MacOS does not support MST, a single extra desktop can be displayed on the external monitor, up to three devices.
  • USB-C connector allows you to connect with the devices equipped with Thunderbolt 3 ports, or USB-C port that supports data transfer function and DP Alt Mode.
  • With aluminium housing, durable and elegant.
  • Plug and play, no driver required.


Hardware&Dimension

  • Color: Space Grey
  • Material: Aluminium-alloy Housing
  • Upstream: USB-C Male
  • Downstream: HDMI x2, VGA, USB-A, USB-C PD 100W
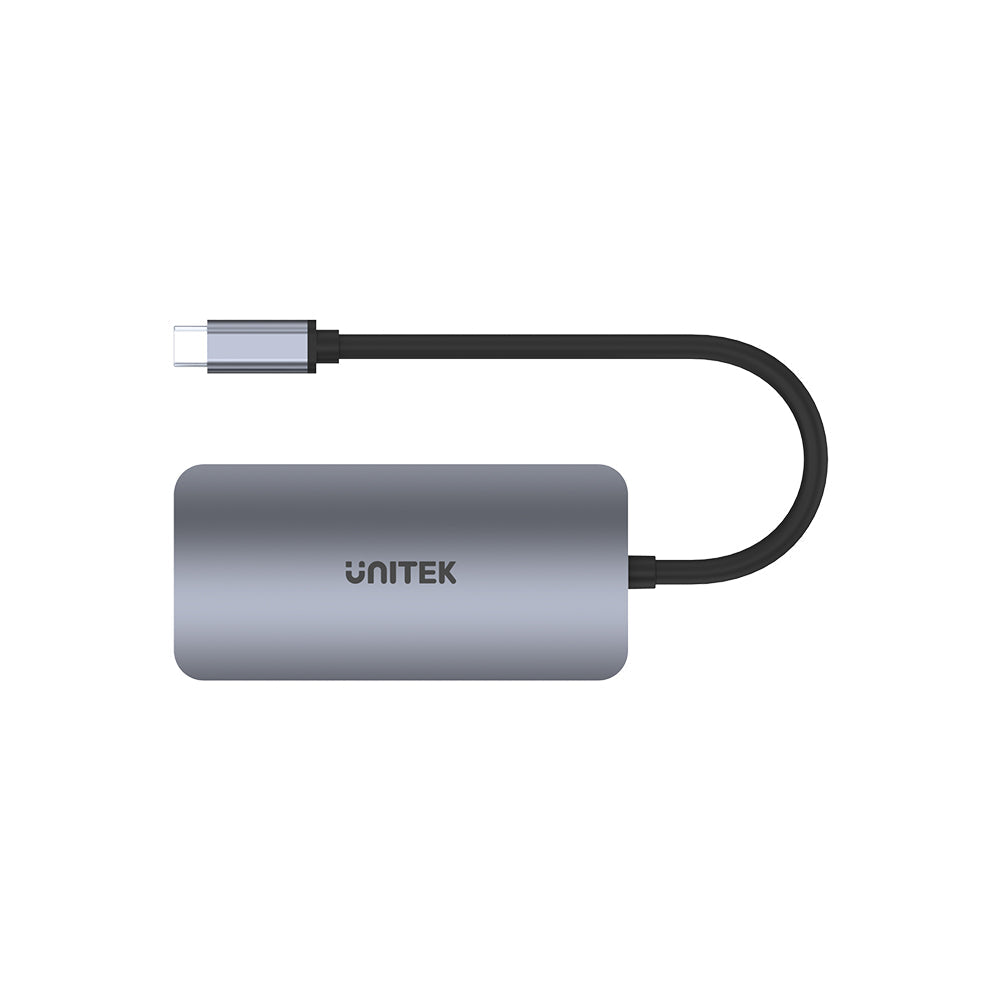
  • Dimension: 90.6mm x 43.2mm x 15.6mm


User Manual

Download

FREE SHIPPING Over $100

30-DAY MONEY-BACK GUARANTEE

HASSLE-FREE GUARANTEE

LIFETIME CUSTOMER SERVICE

How do I know that my USB devices are connected via the USB hub in Windows?

Go through the following:

1. Press the Windows Key plus R, type "devmgmt.msc", and press Enter.
2. In Device Manager, under the appropriate heading, confirm that your expansion card is listed and that there isn't an exclamation mark next to it.
For example, a USB controller card would be under Universal Serial Bus controllers.
3. Your USB device is listed according to the name of the chipset or the dedicated name.

How do I know that my USB devices are connected via the USB hub in macOS?

Go through the following:
1. Click the Apple icon.
2. Click About This Mac.
3. Click More Info or System Report.
4. Under the appropriate heading, please check that your USB device is listed (according to the name of the chipset or the dedicated name) and that there isn't an error. For example, a network card would be under Ethernet Cards.
5. You may have to refresh the System Information page after you plug in your device. To do so, press Command + R with the System Information page open.

Why the file transmission from an attached storage device cannot complete via the USB hub?

If you disconnect a USB-C power input from the multiport USB hub during the transmission of the files to or from an attached storage device, it will stop the transmission and may cause file corruption. It is also possible that there will be a loss of function if the power input is removed from the USB hub while it is in operation.
It is important to always follow the disconnection steps listed following:
1. Complete all data transfers over USB to and from the attached storage device.
2. Disconnect the USB hub from the host computer.
3. Disconnect your power input from the USB hub.
4. Eject your attached storage device.

Why do I lose the connection of my external monitor when the Windows computer wakes up from sleep mode?

It is likely that Windows has automatically turned off the USB Root hub to save power and caused the issue.
The steps below instruct how to configure the USB root hub to stay on during the sleep mode of the upstream computer, to prevent this from happening.

Windows 10 / 8

On your keyboard, press the Windows Key plus X and select Control Panel.
Click Hardware and Sound, then click Power Options.
Click Change plan settings for the plan you want to change.
Click Change advanced power settings.
Click the plus sign (+) next to “USB settings” and “USB selective suspend setting” to expand the options and change the setting to Disabled.
Click OK to apply the setting.
Note: You may need to disconnect and re-connect your USB hub after applying these settings to re-establish the connection.

Windows 7 / Vista

Click the Start button and select Control Panel.
Click Hardware and Sound, then click Power Options.
Click Change plan settings for the plan you want to change.
Click Change advanced power settings.
Click the plus sign (+) next to “USB settings” and “USB selective suspend setting” to expand the options and change the setting to Disabled.
Click OK to apply the setting.
Note: You may need to disconnect and re-connect your USB hub after applying these settings in order to re-establish the connection.

Windows XP

On your desktop, right-click the My Computer icon and select Properties.
Click the Device Manager tab.
Expand Universal Serial Bus controllers by clicking the arrow to the left of it.
Right-click the first USB Root Hub device and select Properties.
Click the Power Management tab.
Clear the box next to Allow the computer to turn off this device to save power.
Click OK to apply the setting.
Repeat steps 4-7 for any remaining devices in the Universal Serial Bus Controllers section with “Root Hub” in the name.
Note: You may need to disconnect and re-connect your USB hub after applying these settings to re-establish the connection.

Why my mouse does not move properly between the displays?

We suggest you to rearrange the monitors in Windows to match the physical location of them on your desk.

Go through the following:

Windows 10 / 8
1. Press the Windows Key plus X and select Control Panel.
2. Click Appearance and Personalization, then click Display.
3. Click the Resolution or Adjust Resolution option from the left column, which will display your monitors as numbered icons.
4. Click Identify to display the numbers on each connected monitor, showing how the operating system has assigned their positions.
5. Click and drag the monitor icons to best match the physical location of monitors.
6. Click OK to apply the changes and close the window.

Windows 7 / Vista
1. Click the Start button and select Control Panel.
2. Click Appearance and Personalization, then click Display.
3. Click the Resolution or Adjust Resolution option from the left column, which will display your monitors as numbered icons.
4. Click Identify to display the numbers on each connected monitor, showing how the operating system has assigned their positions.
5. Click and drag the monitor icons to best match your physical setup.
6. Click OK to apply the changes and close the window.

Windows XP
1. Click the Start button and select Control Panel.
2. Double-click Display.
3. Click the Settings tab, which will display your monitors as numbered icons.
4. Click Identify to display the numbers on each connected monitor, showing how the operating system has assigned their positions.
5. Click and drag the monitor icons to best match your physical setup.
6. Click OK to apply the changes and close the window.

How do I set to mirror my primary display onto my secondary display in Windows?

Go through the following:

Windows 10 / 8
1. Press the Windows Key plus X and select Control Panel.
2. Click Appearance and Personalization, then click Display.
3. Click the Resolution or Adjust Resolution option from the left column.
4. Expand the drop-down menu next to “Multiple displays” and select Duplicate these Displays.
5. Click OK to apply the changes and close the window.

Windows 7 / Vista
1. Click the Start button and select Control Panel.
2. Click Appearance and Personalization, then click Display.
3. Click the Resolution or Adjust Resolution option from the left column.
4. Expand the drop-down menu next to “Multiple displays” and select Duplicate these Displays.
5. Click OK to apply the changes and close the window.

Windows XP
1. Click the Start button and select Control Panel.
2. Double-click Display.
3. Click the Settings tab.
4. Un-check the box beside Extend my Windows desktop onto this monitor.
5. Click OK to apply the changes and close the window.

How can I charge my laptop when connecting with the USB hub?

If your USB hub equips the USB Power Delivery (PD) port, you can use it to charge your laptop computer by connecting to a PD power adapter.
For more information on what the requirements are and about how much power this laptop docking station provides, refer to the product specifications.

How can I use the MST function with my USB hub?

Go through the following:
1. Plug the USB hub into the port of your computer, and please make sure the port equips video output function (e.g. Thunderbolt 3 port or a USB-C port with DisplayPort Alternate Mode).
2. Plug the power into the USB hub if it has a DC/PD port.
3. Connect your displays with the USB hub.
4. Turn on your computer.
Your displays should be auto-detected in the display properties of your operating system.
If it doesn't, go through the following:
Verify that the latest drivers of display I/O card are installed.
Verify that if the DisplayLink driver is required for your USB hub.
If you are using a conversion cable between the USB hub and display, verify that the direction of the cable is correct.
When the displays are detected in the display properties of your operating system, make sure that the resolutions that you are setting do not exceed the total data throughput of the DisplayPort host connection. You can verify the total data throughput (bandwidth) under the Product Overview tab for you device.

My displays are flickering when used through my MST USB hub. What do I do?

If you are experiencing flickering issues with the MST USB hub, your displays may be at a 59Hz refresh rate. If it does, you have to adjust the refresh rate to 60Hz.
To do so, go through the following:
1. Right-click anywhere on your desktop.
2. Click Screen resolution or Display settings.
3. At the top of the screen, select the monitor that you want to change the refresh rate for.
4. Click Advanced settings or Display adapter properties.
5. On the Monitor tab, click the Screen refresh rate drop-down list.
Note: The above steps may vary depending on your operating system and graphics card.

Will a MST USB hub works in Mac OSX?

Recent versions of DisplayPort include the ability to split to multiple displays from one DisplayPort connection using Multi-Stream Transport (MST).
Although you will be able to connect a MST USB hub on your Mac, Mac OSX does not support MST for NVIDIA and Intel Graphics Processor Units (GPUs). This results in a mirrored image across the outputs of a MST hub and you will not be able to have multiple independent displays on your Mac.
The limitation of NVIDIA and Intel GPUs lies within Mac OSX. If a different operating system is used, such as Microsoft Windows via Bootcamp, you may be able to use the MST functionality of your Mac devices.

Will this MST USB hub allow me to get around my display card's maximum number of displays?

An MST USB hub is not able to increase the maximum number of displays that a display card supports.
For example, if your display card only supports up to three displays, the display limit will still be three displays even if you are using an MST hub.
Besides, your display card has to be compatible with MST technology in order to apply Extend Mode to your external displays.
We recommend you to check your display card to make sure that it can support MST as well as the number of displays that you are using in your setup.

Why is only one external display working with my Apple M1-based Mac?

MacBook and Mac Mini using the Apple Silicon chip support only one single external display over the Thunderbolt 3 ports, even when connected to a Thunderbolt 3 hub or adapter with multiple video output. Turning off the laptop display or using clamshell mode does not change this.
Using a USB-C DisplayLink-based hub or video adapter may be an option to allow more than one external display with an Apple M1-based Mac device.
Note: this limitation does not affect Intel-based Macs with Thunderbolt 3.